Propagation is an exciting aspect of gardening that allows you to create new plants from existing ones. One of the most aesthetically pleasing methods is propagating in a glass vase, which not only provides a nurturing environment for your plant cuttings but also serves as a stunning decorative piece in your home. This article will walk you through the entire process, from selecting the right plants to caring for your new growth.
Understanding Plant Propagation
Propagation is the process of creating new plants from various sources: seeds, cuttings, or divisions. The method of propagating in a glass vase typically involves taking cuttings from a healthy plant and encouraging them to develop roots in water. This method is particularly popular for houseplants and can be done year-round.
Benefits of Propagating in a Glass Vase

- Visual Appeal: Transparent glass allows you to observe the rooting process, adding an aesthetic element to your space.
- Low Maintenance: Water propagation requires minimal care compared to soil propagation.
- Healthy Growth: Water propagation can reduce the risk of soil-borne diseases.
- Cost-Effective: You can expand your plant collection without purchasing new plants.
Choosing the Right Plants for Propagation
Not all plants propagate well in water. Here are some popular choices:
- Herbs: Basil, mint, and rosemary are excellent options.
- Succulents: Many succulents can successfully root in water.
- Houseplants: Pothos, spider plants, and philodendrons thrive in water propagation.
- Flowering Plants: Cuttings from geraniums and African violets can also work well.
Tools and Materials Needed

Before starting your propagation journey, gather the following materials:
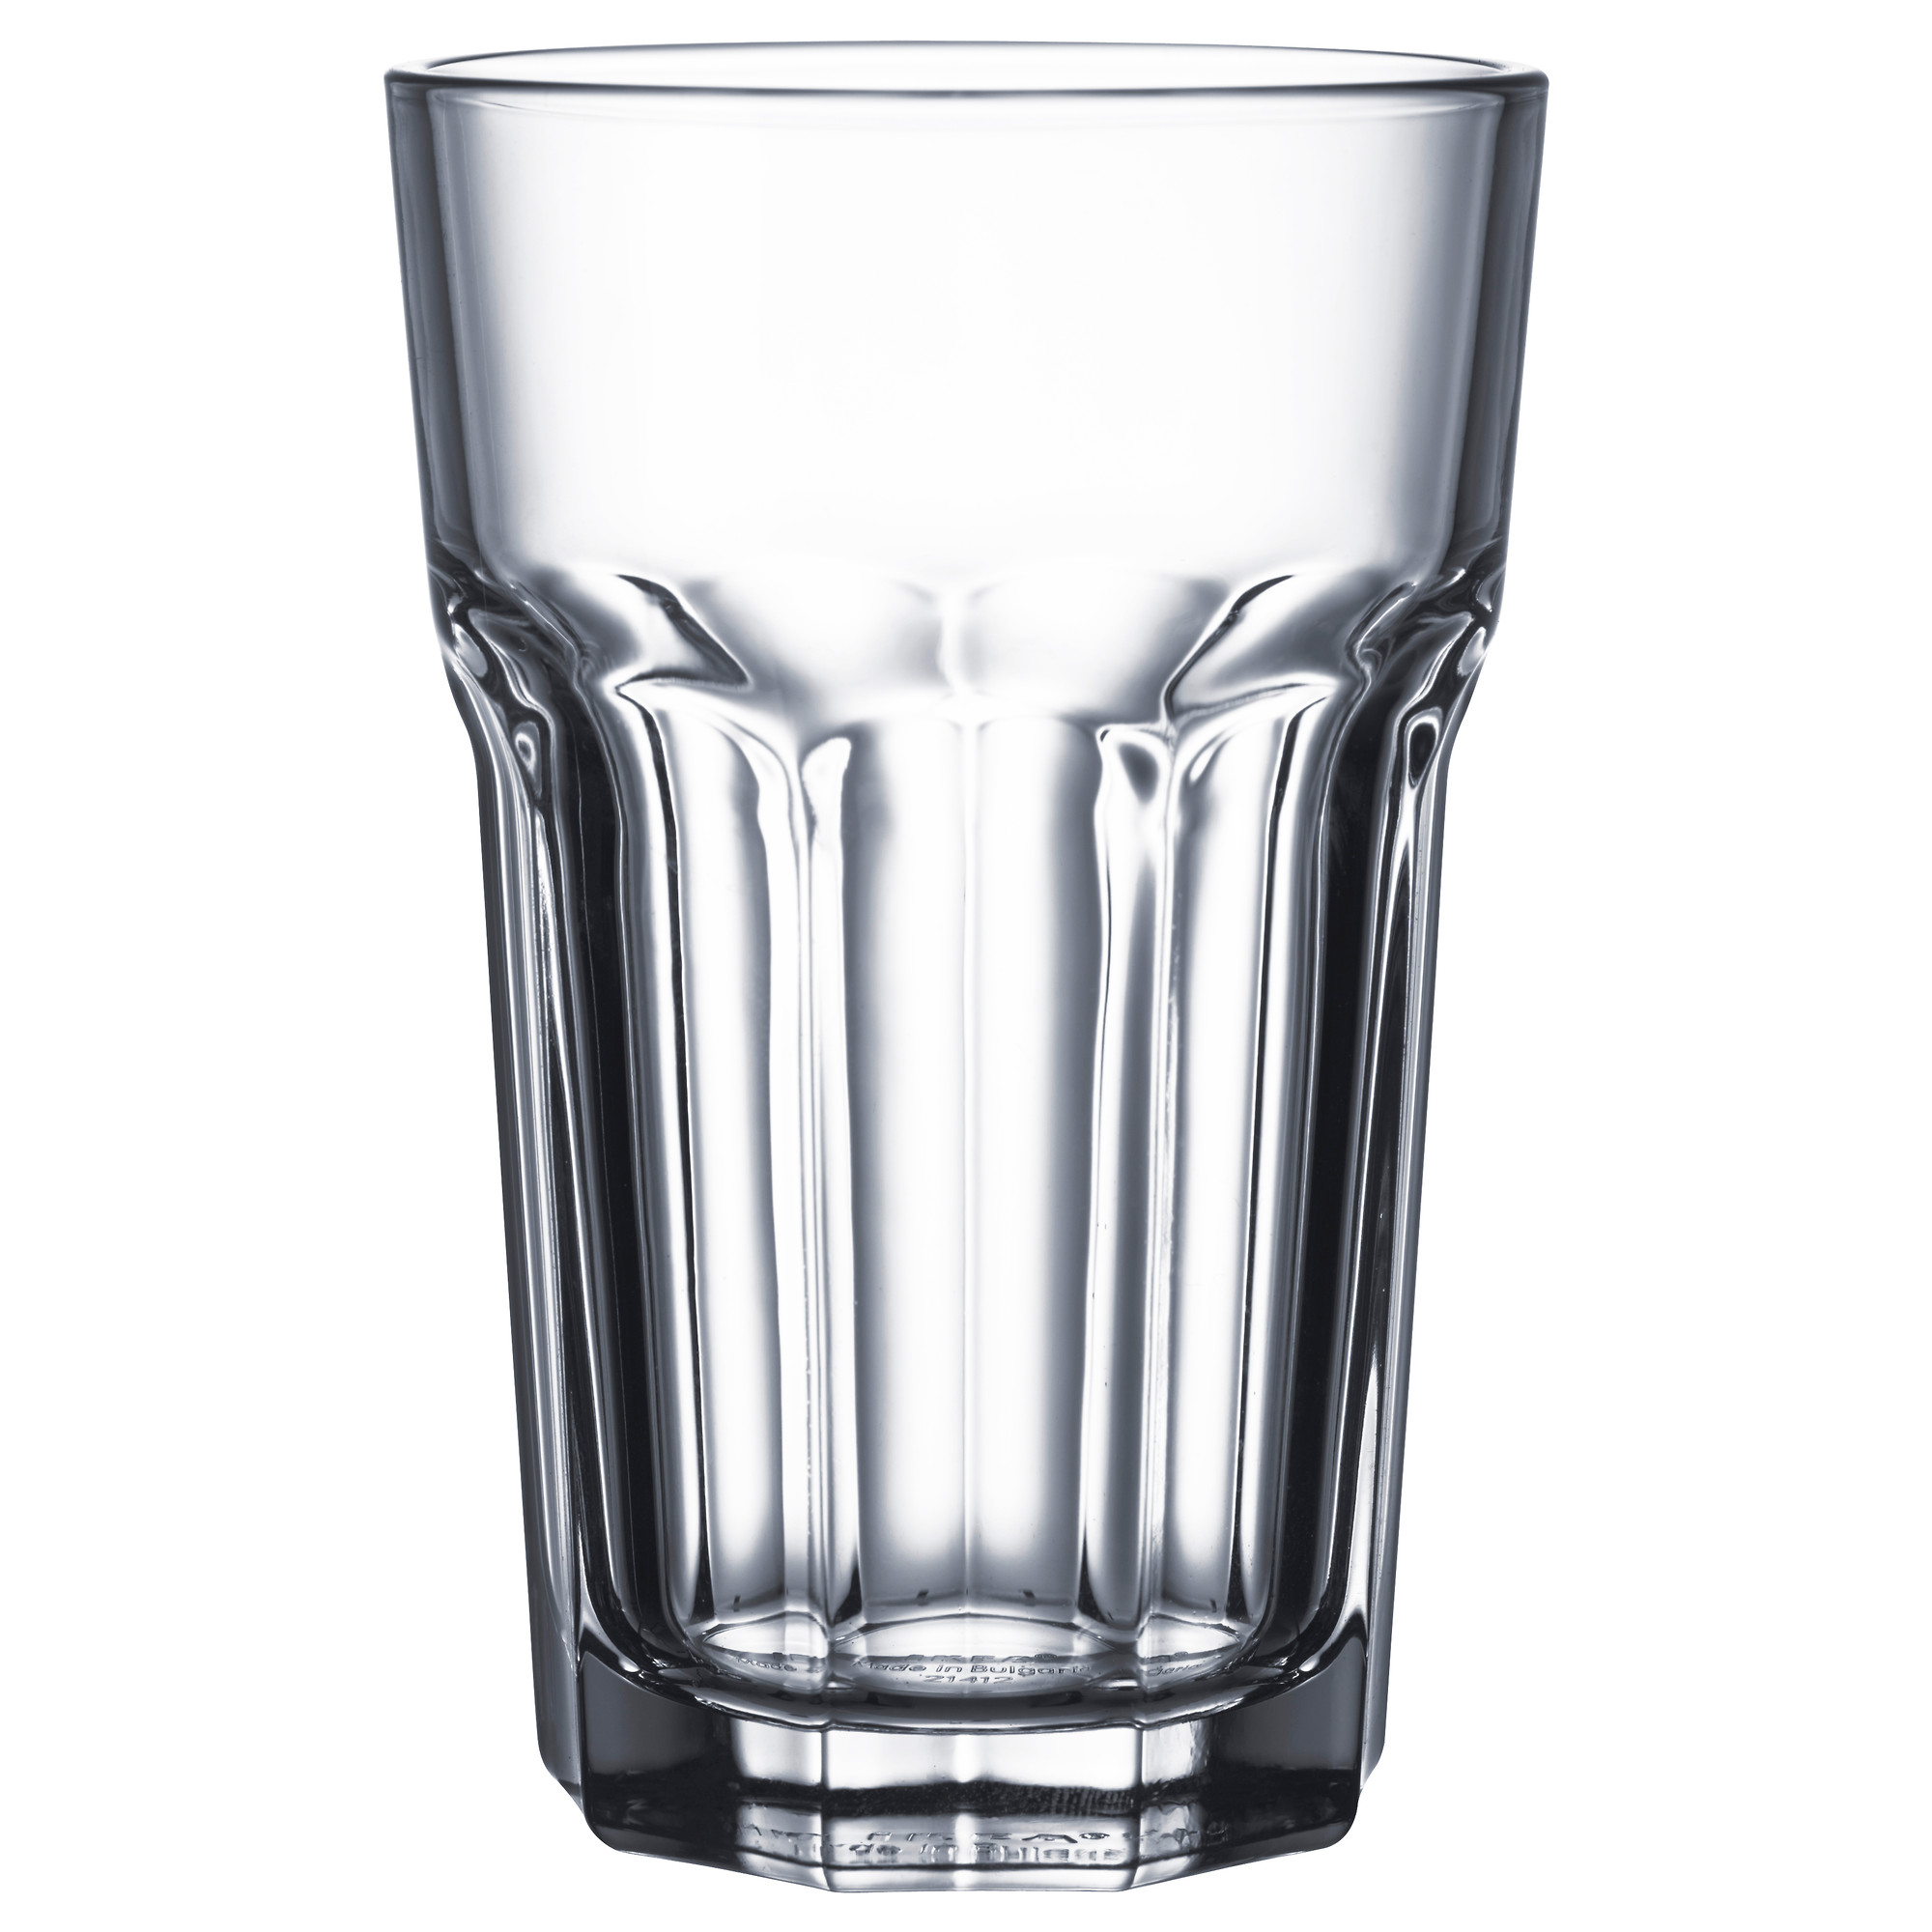
- Glass vase or container (preferably clear)
- Sharp scissors or pruning shears
- Water (preferably distilled or rainwater)
- Optional: Rooting hormone for better results
Step-by-Step Guide to Propagate Plants in a Glass Vase
Step 1: Selecting and Preparing Your Cuttings
Choose healthy stems from the parent plant. Aim for cuttings that are 4-6 inches long and have at least two leaves. Follow these steps:
- Using sharp scissors, make a clean cut just below a node (the point where a leaf attaches to the stem).
- Remove the lower leaves to prevent them from rotting in the water.
- If using rooting hormone, dip the cut end into the powder.
Step 2: Placing Cuttings in Water

Fill your glass vase with water, leaving enough space for the cuttings. Here’s how to place your cuttings:
- Submerge the cut end of the stem in water, ensuring the node is covered.
- Keep the leaves above the waterline to prevent decay.
- If necessary, use a rubber band or string to hold the cuttings in place.
Step 3: Providing the Right Environment
To encourage healthy root growth, place your vase in an ideal location:
- Choose a spot with indirect sunlight; direct sunlight can be too intense and may cause algae growth.
- Keep the temperature consistent, ideally between 65°F and 75°F (18°C to 24°C).
Step 4: Changing the Water Regularly

To prevent stagnation and bacterial growth, change the water every 5-7 days. Follow these steps:
- Carefully remove the cuttings from the vase.
- Rinse the vase with fresh water to remove any debris.
- Fill the vase with fresh water and reinsert the cuttings.
Step 5: Waiting for Roots to Develop
Patience is key. Depending on the plant species, it may take anywhere from a few days to several weeks for roots to develop. Monitor the cuttings closely:
- Look for small white roots emerging from the nodes.
- Once roots are 2-3 inches long, your cuttings are ready to be planted in soil.
Common Issues and Solutions
As with any gardening endeavor, you might encounter some challenges while propagating plants in a glass vase. Here are common issues and how to address them:
- Algae Growth: If you notice green algae in the water, it may be receiving too much light. Move it to a shadier spot.
- Rotting Cuttings: This often occurs due to submerged leaves. Ensure leaves remain above the waterline.
- No Root Development: If roots are not forming, consider changing the water more frequently or checking for adequate light conditions.
Case Studies: Success Stories in Water Propagation
Numerous gardeners have successfully propagated plants in glass vases, leading to thriving indoor gardens. For instance, a study conducted by the University of Illinois found that nearly 80% of cuttings from Pothos plants successfully developed roots in water, demonstrating the effectiveness of this method.
Another example is the popularity of hydroponic systems, which utilize similar principles. Many urban gardeners have turned to water propagation in glass vases as a way to grow fresh herbs and vegetables in limited spaces.
Propagating plants in a glass vase is a rewarding and visually appealing way to expand your plant collection. By following the steps outlined in this guide, you can successfully grow new plants from cuttings, enjoy the beauty of the rooting process, and contribute to a greener environment. Remember to choose the right plants, maintain optimal conditions, and be patient as you watch your cuttings thrive. With practice and care, you’ll soon have a flourishing collection of propagated plants that bring life and beauty to your home.