Jewelry is not just an accessory; it’s a reflection of personal style, stories, and memories. Whether you’re a jewelry maker or a collector, showcasing these treasures is essential. DIY jewelry display stands not only serve the practical purpose of organizing your pieces but also add artistic flair to your space. In this article, we’ll explore creative methods to craft unique jewelry display stands using various materials, along with tips and tricks to make your displays shine.
Why DIY Jewelry Displays Matter

Creating your own jewelry display stands allows for personalization, creativity, and cost efficiency. Here are a few compelling reasons to consider DIY projects:
- Customization: Tailor your displays to fit your style, space, and the types of jewelry you own.
- Cost-effective: Many DIY projects use affordable or repurposed materials, saving you money compared to store-bought options.
- Creative Expression: The process of designing and crafting can be a fulfilling artistic outlet.
- Unique Designs: Stand out with one-of-a-kind displays that reflect your personality.
Materials You Can Use for Jewelry Displays

The beauty of DIY projects lies in the variety of materials you can use to create jewelry displays. Here are some common materials and their applications:
- Wood: Sturdy and versatile, wood can be cut and painted to create stands, boxes, or wall-mounted displays.
- Wire: Perfect for creating minimalist and modern designs, wire can be shaped into various forms to hold necklaces, earrings, and bracelets.
- Fabric: Use fabric-covered boards or hangers to create soft displays for earrings and delicate pieces.
- Repurposed Items: Old picture frames, cork boards, and even branches can be transformed into stunning jewelry displays.
- Glass: Glass jars or terrariums can be used to create elegant displays for rings and bracelets.
DIY Jewelry Display Stand Ideas
Now that you have a good understanding of materials, let’s delve into some specific DIY jewelry display stand projects that you can try at home.
1. Wooden Jewelry Tree

A wooden jewelry tree is a charming and functional way to display necklaces and bracelets. Here’s how to make one:
- Materials Needed: A wooden dowel, a wooden base, wood glue, and paint or varnish.
- Instructions:
- Cut the wooden dowel to your desired height.
- Attach the dowel to the base using wood glue.
- Paint or varnish the stand for a polished look.
- Add branches or hooks to hold your jewelry.
2. Earring Display Board
This project is perfect for organizing and showcasing earrings. Here’s how you can create one:
- Materials Needed: A corkboard or canvas, fabric, push pins, and a staple gun.
- Instructions:
- Wrap the corkboard or canvas with the fabric and secure it using a staple gun.
- Use push pins to create holes for hanging earrings.
- Hang the display board on your wall for easy access and visibility.
3. Repurposed Frame Display

Old picture frames can be transformed into beautiful jewelry displays. Here’s a simple guide:
- Materials Needed: An old picture frame, wire mesh, paint, and a staple gun.
- Instructions:
- Remove the glass and backing from the frame.
- Cut the wire mesh to fit the frame and secure it with the staple gun.
- Paint the frame if desired and reassemble it.
- Hang the frame on the wall and use it to display earrings and necklaces.
4. Tiered Jewelry Stand

A tiered stand can save space while providing an elegant way to display your jewelry. Here’s how to create one:
- Materials Needed: Ceramic plates, candlesticks, and glue.
- Instructions:
- Glue the candlestick to the center of the bottom plate.
- Glue another plate on top of the candlestick to create a tiered effect.
- Let it dry completely before using it to hold your jewelry.
Case Studies: Successful DIY Jewelry Displays
To illustrate the effectiveness of DIY jewelry displays, let’s explore a few case studies of individuals and businesses that have successfully utilized unique display stands.
Case Study 1: Artisan Jewelry Maker
An artisan jewelry maker from Portland, Oregon, started showcasing her handmade pieces at local craft fairs. She opted to create a wooden display tree, which not only held her necklaces beautifully but also matched her brand’s rustic aesthetic. Her sales increased by 30% after implementing this stand, as customers appreciated the visual appeal and organization of her products.
Case Study 2: Online Jewelry Boutique
A small online jewelry boutique used a combination of repurposed frames and earring boards to create visually stunning product photos for their website. By showcasing their jewelry in eye-catching displays, they experienced a 50% increase in engagement on social media. Their unique displays helped convey their brand’s identity, attracting more customers to their online shop.
Tips for Effective Jewelry Display
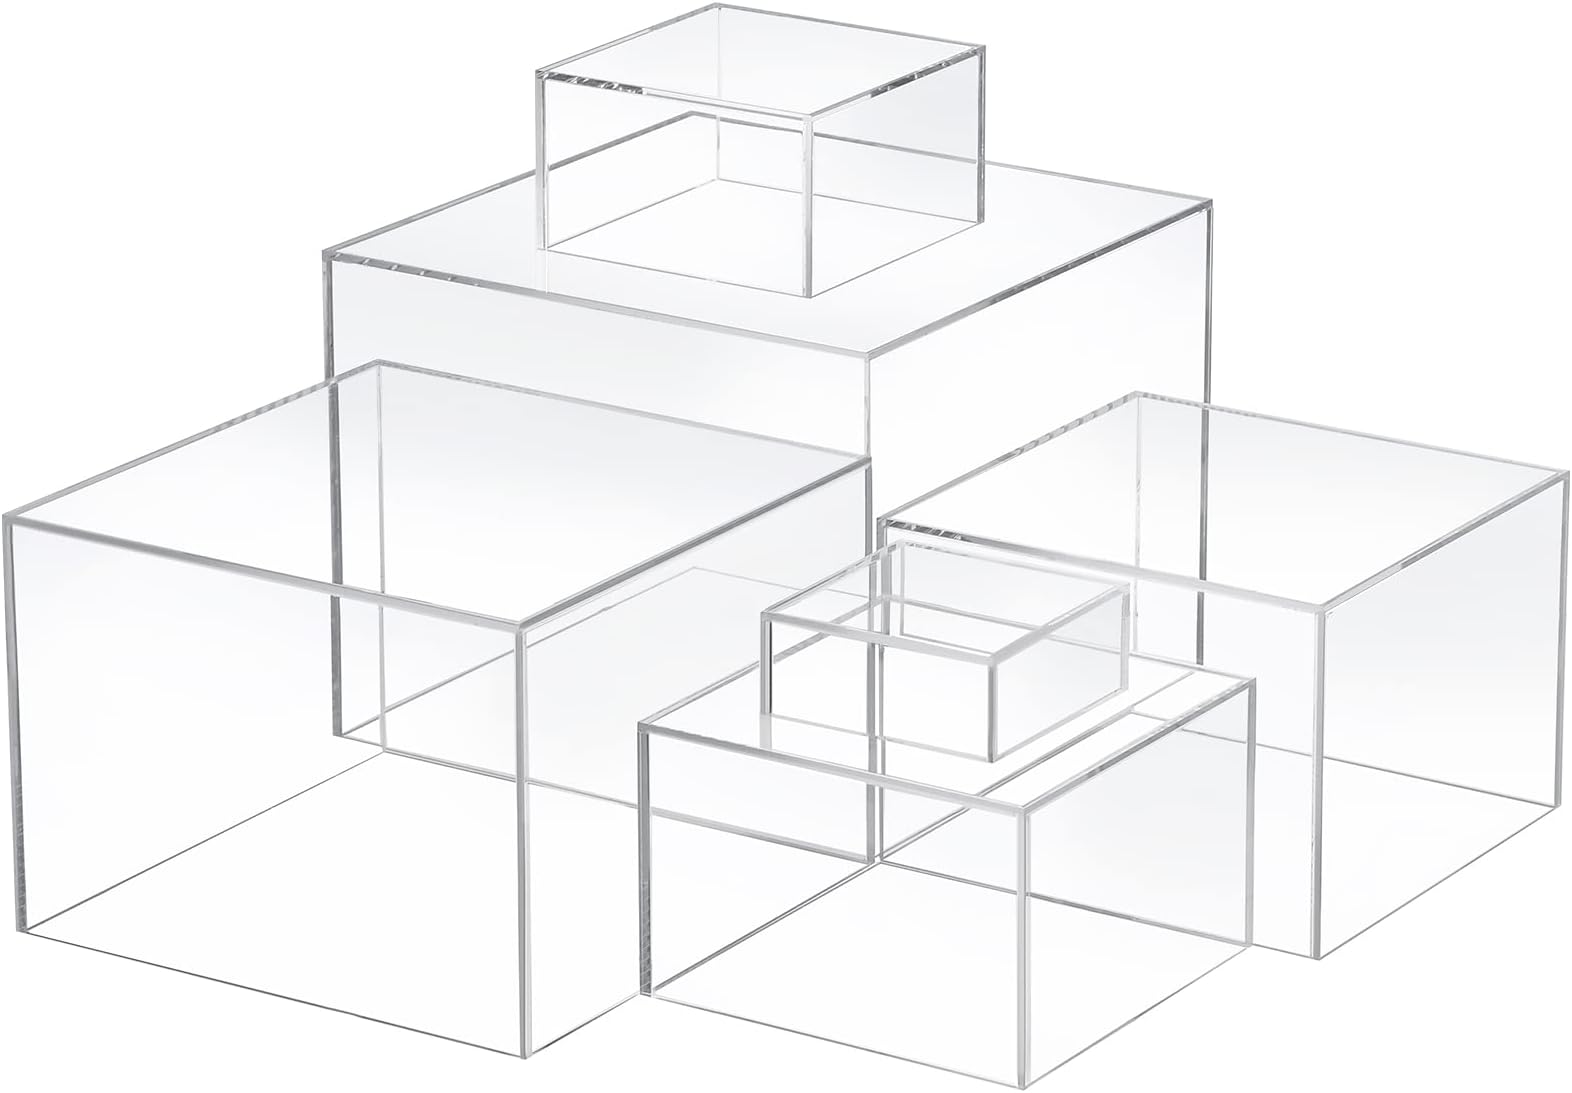
Creating a beautiful jewelry display is not just about the stand; it’s also about how you present your pieces. Here are some tips for effective jewelry display:
- Lighting: Use natural light or soft artificial lighting to highlight your pieces.
- Color Coordination: Choose colors for your display that complement your jewelry.
- Vary Heights: Incorporate different heights in your display to create visual interest.
- Keep It Organized: Regularly update and organize your displays to keep them fresh and appealing.
Creating DIY jewelry display stands is an exciting way to showcase your treasures while expressing your creativity. With various materials and ideas to explore, you can craft unique displays that enhance the beauty of your jewelry and complement your living space. Whether you opt for a wooden jewelry tree, a repurposed frame display, or a tiered stand, the key is to personalize your projects to reflect your style. Remember to consider lighting, color coordination, and organization to maximize the impact of your displays. By investing time in crafting your own jewelry stands, you not only enhance your space but also elevate the presentation of your cherished pieces.