In the era of digital photography, transferring photos from an SD card to an iPad can seem daunting for many users. However, with the right tools and a clear understanding of the process, it can be accomplished seamlessly. This guide aims to provide you with a step-by-step approach to ensure you can easily transfer your cherished memories without losing any quality.
Why Transfer Photos to Your iPad?

There are several reasons why you might want to transfer photos from your SD card to your iPad:
- Storage and Accessibility: Storing photos on your iPad makes them accessible anywhere, anytime.
- Editing Options: iPads come with powerful editing apps that allow you to enhance your photos.
- Sharing: It’s easier to share your photos directly from your iPad using apps like Instagram, Facebook, and Email.
- Backup: Having a copy of your photos on your iPad serves as a backup in case the SD card gets lost or damaged.
What You’ll Need

Before you begin, ensure you have the following items:
- An SD card with your photos stored.
- An iPad with iOS version 9.0 or later.
- The Apple Lightning to SD Card Camera Reader or a compatible USB adapter.
- Access to the Photos app on your iPad.
Step 1: Prepare Your iPad
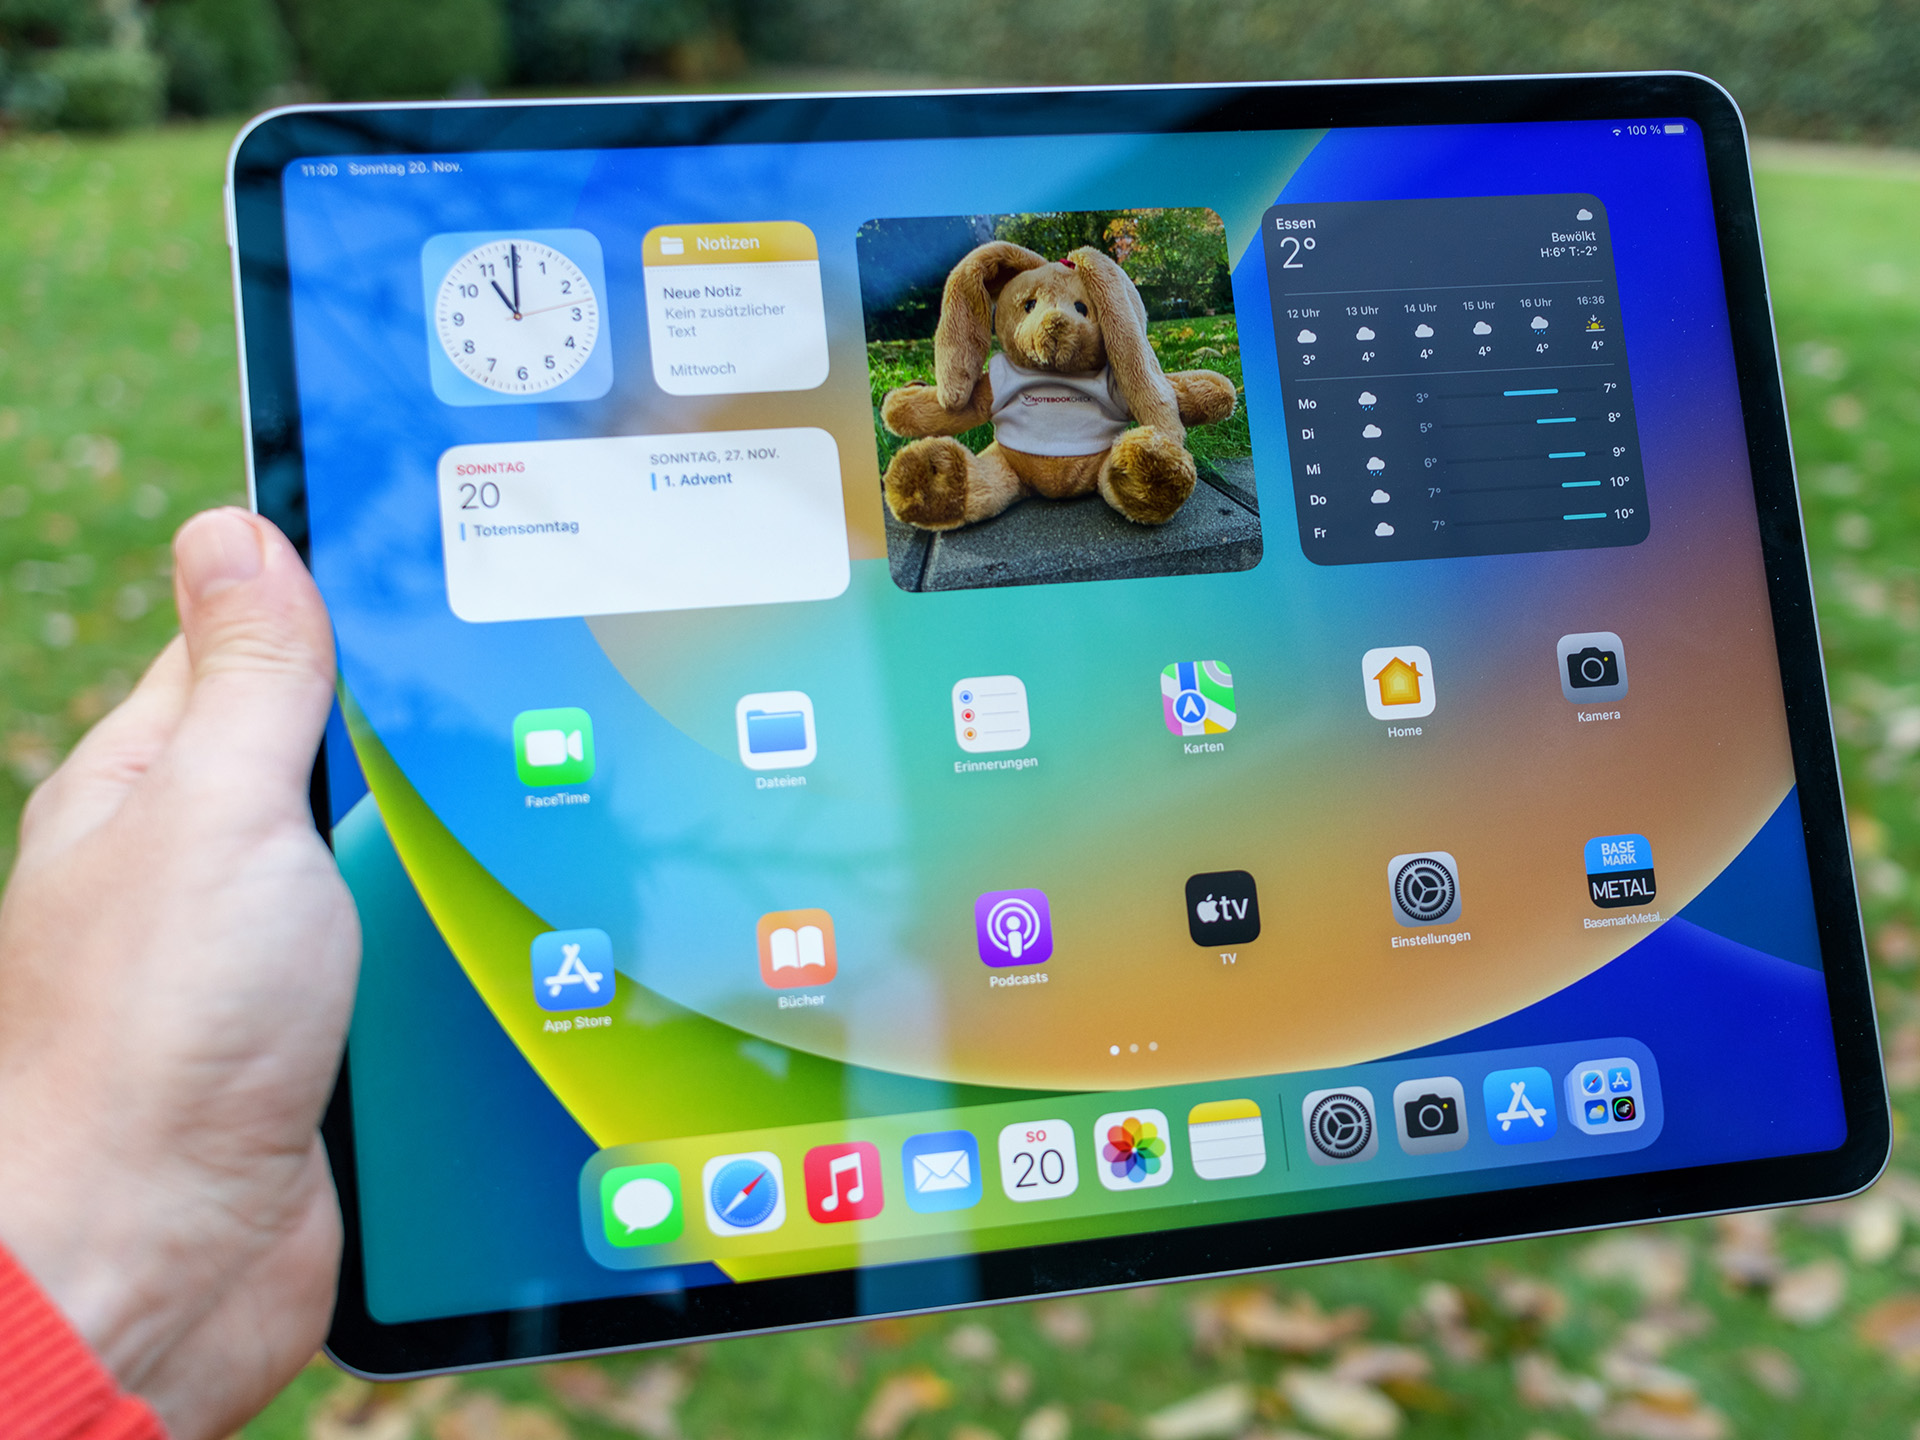
To start the transfer process, you need to ensure your iPad is ready.
- Check Your iPad’s Software: Make sure your iPad is running the latest version of iOS. Go to Settings > General > Software Update to check for updates.
- Free Up Space: Check that you have enough storage space on your iPad for the photos you plan to transfer. Navigate to Settings > General > [Device] Storage.
Step 2: Connect the SD Card to Your iPad
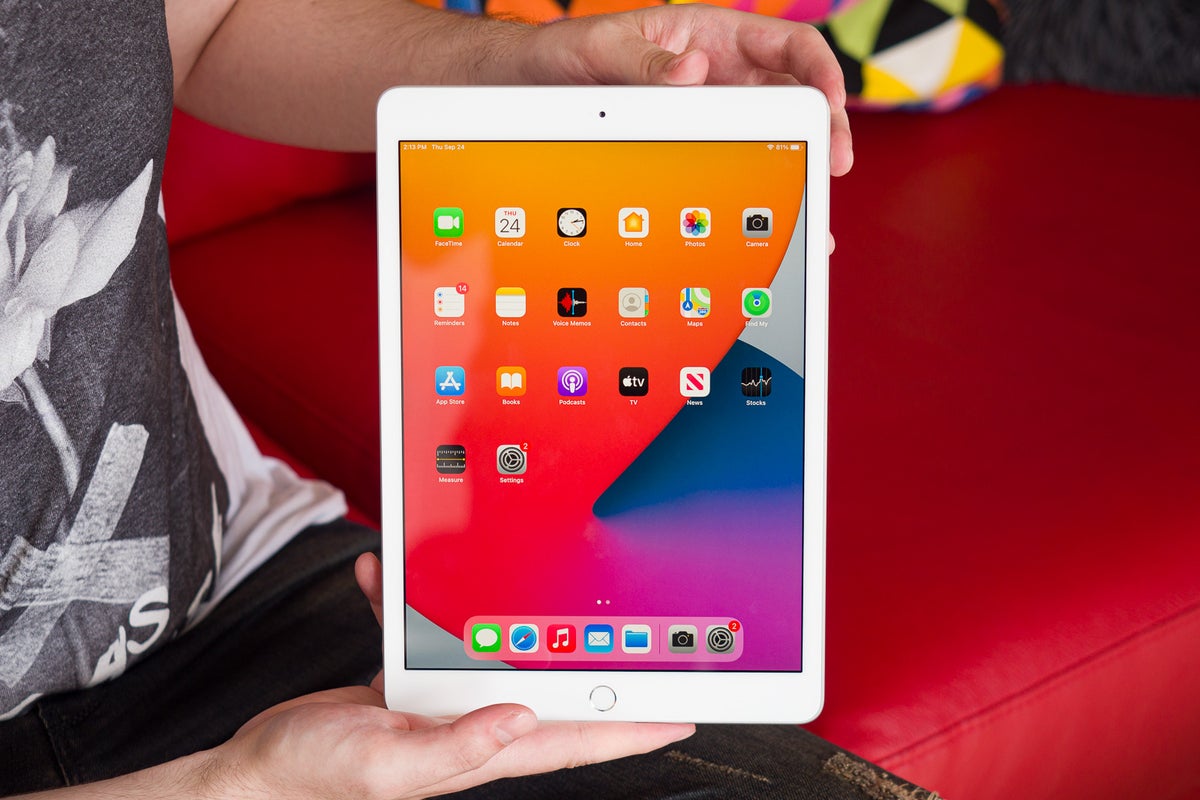
Now that your iPad is ready, it’s time to connect the SD card.
- Insert the SD Card: Take your SD card and insert it into the Apple Lightning to SD Card Camera Reader.
- Plug in the Reader: Connect the Lightning to SD Card Camera Reader into your iPad’s Lightning port.
Once connected, the Photos app should automatically launch. If it doesn’t, open the Photos app manually.
Step 3: Import Photos Using the Photos App
With the SD card connected, you can now proceed to import your photos.
- Open the Photos App: If it hasn’t opened automatically, locate and open the Photos app on your iPad.
- Select Import: You should see an option to import photos from your SD card. Tap on the Import option.
- Choose Photos: You can select specific photos to import or choose to import all photos. Tap on the photos you wish to transfer.
- Start Importing: After making your selections, tap on Import Selected or Import All to begin the process.
The Photos app will display a progress bar, indicating that the transfer is in progress. This process may take some time, depending on the number of photos being transferred.
Step 4: Reviewing and Organizing Your Photos

Once the import is complete, it’s a good idea to review and organize your photos.
- Check Your Albums: Navigate to the Albums tab in the Photos app to see your imported photos organized by date.
- Create New Albums: You can create new albums by tapping + Create Album and organizing your photos based on events, dates, or subjects.
Step 5: Safeguarding Your Photos
After transferring your photos, consider backing them up to ensure they are safe from accidental deletion or loss.
- iCloud Backup: Enable iCloud Photos in Settings > Your Name > iCloud > Photos to back up your photos automatically.
- External Backup: Use external storage solutions like a hard drive or cloud services such as Google Drive or Dropbox for additional backup.
Common Issues and Troubleshooting
Sometimes, issues may arise during the transfer process. Here are some common problems and how to resolve them:
- iPad Not Recognizing the SD Card: Ensure the SD card is properly inserted and functioning. Test it in a different device if necessary.
- Insufficient Storage Space: If you receive an error regarding storage, delete unnecessary files or apps on your iPad to free up space.
- Import Process Freezing: If the import process freezes, disconnect the reader, then reconnect it and try again.
Transferring photos from an SD card to an iPad can be a straightforward process when following the right steps. By preparing your iPad, connecting your SD card, and using the Photos app effectively, you can easily import your cherished memories. Always remember to organize your photos for ease of access and consider backing them up to prevent loss. With these tips and guidelines, you’ll be well on your way to enjoying your photos on your iPad with minimal hassle.
In summary, whether you are a professional photographer or a casual user, understanding how to transfer your photos effectively can enhance your digital experience. Embrace the convenience of your iPad and enjoy your photos in a more accessible and shareable format!